
How to Organize Shared Storage Spaces
When you're organizing for a club, non-profit, or church, you have to make things as easy as possible for the multiple users. Whether it’s a storage closet, cabinet, back room, or shed, one thing is true: people come and go. Volunteers rotate in and out, and even long-term members can forget where things go—or what belongs to whom. That’s why having a clear, user-friendly system for organizing your storage is essential.
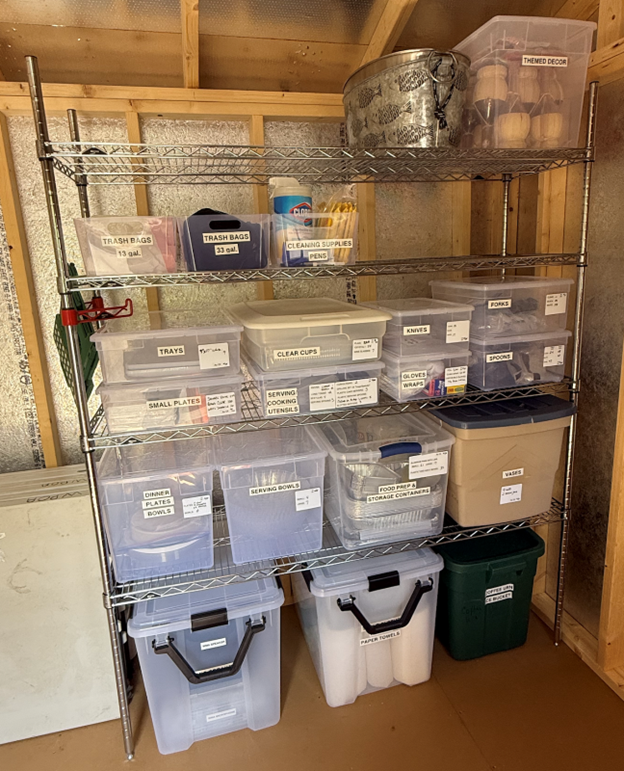
1. Designate Zones
Start by grouping similar items together and assigning them to specific “zones” within the storage area. Keep like with like—art supplies all in one area or container, cleaning items together, event signage all in one spot. This helps everyone intuitively know where to find what they need and where to return it.
In this example, 6 years after the system was initially set up, people still go to the cart for plasticware and to the designated shelves for bowls or trays:
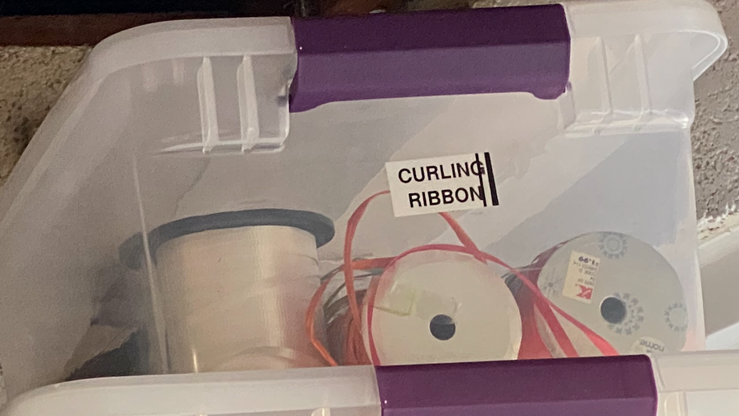
2. Use Clear Containers
Clear plastic containers are your best friend in shared storage. They let you see what’s inside without opening every lid. They also help you notice quickly when you’re running low on something. Bonus: Lidded bins protect your supplies from dust and, in a shed or garage space, from the elements.
3. Be Climate-Conscious
If your storage is in a shed or other non-climate-controlled area, consider the weather. In hot and humid climates, materials can degrade over time. Store paper goods and fabric in airtight bins to keep moisture out. Plastic and non-permeable items can handle the environment better, but it’s still wise to keep them off the floor and covered. Pro tip: Plastic becomes more brittle when it’s cold, so set bins down vs. dropping them.
4. Maximize Accessibility & Incorporate Flexibility
Adjustable shelving can help make the most of vertical space AND provide flexibility as needs change. Store large rolling bins or infrequently used items underneath the bottom shelves, while keeping high-use materials at eye level. The goal is to make it easy to grab what you need without having to dig through a pile.
5. Keep Tracking Simple
If you track inventory or ask volunteers to sign items in and out, make the process as easy as possible. Complex systems tend to get ignored. I have found that it is most effective to keep the inventory noted at the point of use—right where people grab the item. If you have frequent events, update the number of everything as part of the post-event wrap up. That way, things only have to be counted once between events. A clipboard with a check-out sheet can be used for people to write notes like “I’m taking home the platters to clean” so others know who to contact if the platters are missing. If you are going to keep a list vs. putting numbers on the bin itself, place the list in plastic page protectors at the storage location, and keep dry erase markers available for people to make notes. Bonus: If people note the date when they last counted the items you’ll know if they need to be counted before the next party planning session. Remember: If a system is not easy, it won’t be used.
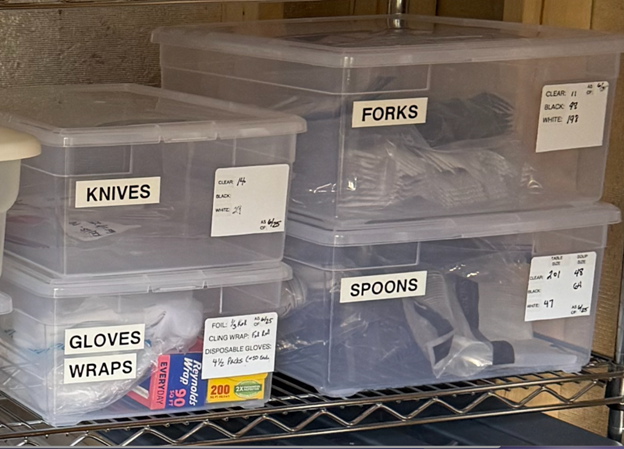
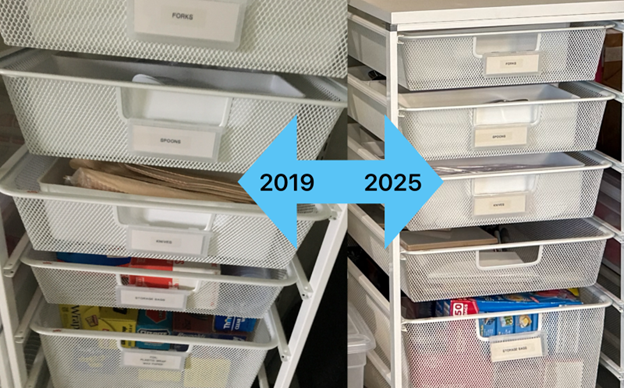
6. Label Everything
Labels are key to a functional shared space. Label every container with what goes inside it. Label items with the name of your organization to prevent them from “walking away.” If something needs to be signed out with someone, include that instruction on the label too. The more guidance you provide, the less confusion there will be.
7. Edit Routinely
Whenever you are pulling supplies out, toss any that are damaged. For example, the thought “I’m not going to use that rusty can opener today” is a queue to throw it out now. No one else is going to want to use it, either. If a replacement is needed, buy a new one.
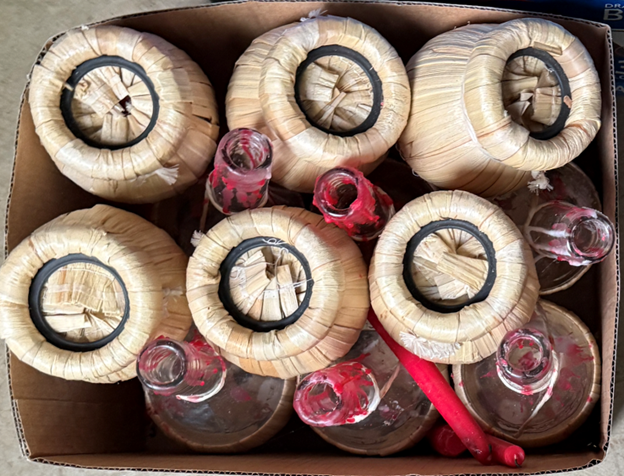
By the same token, when you are storing items after an event, think about whether the group is actually likely to use it again. For example, are you going to ever have an “Italian Night” dinner again? If yes, keep the chianti-bottle candles. If it’s doubtful, let them go. If years from now someone wants to revive this event AND this decor, they can have fun recreating them!
Final Thoughts
Shared spaces don't have to feel chaotic. With a little upfront effort and smart systems, you can create an organized, easy-to-use storage area that works for everyone—seasoned volunteers and newcomers alike. When everything has a place and it’s easy to find, your team can spend less time searching and more time serving.